Get a Quote TODAY!

    Home Painting

    Is it time to refresh the look of your home with a fresh coat of paint? Whether you’re looking to update your home’s exterior, add personality to your interiors, or completely transform your living space, home painting in New Jersey offers an affordable and effective way to elevate the appearance of your home. By selecting the right colors and finishes, you can create an environment that reflects your style and enhances the overall aesthetic of your home.


    At Bright Home Remodeling, we specialize in professional home painting services throughout NJ. Our team of skilled painters is committed to delivering high-quality workmanship, attention to detail, and excellent customer service. Whether it’s a full interior and exterior painting project or a small refresh, we bring your vision to life with precision and care.


    As a premier NJ basement remodeling contractor, we specialize in turning underutilized spaces into beautiful, functional areas. Whether you envision a cozy family room, a home office, or a stylish guest suite, our basement renovation NJ services are tailored to meet your unique needs.


    With years of experience in basement remodeling in South Jersey, our skilled team is dedicated to delivering exceptional results. We work closely with you to create a design that reflects your style and enhances your home’s value. Our commitment to quality means we use only the finest materials, ensuring that your basement remodel NJ not only looks stunning but stands the test of time.


    From waterproofing and insulation to custom cabinetry and flooring, our comprehensive basement remodeling services NJ cover every aspect of the renovation process. We handle it all, making your experience seamless and enjoyable.

    Home painting is one of the most effective and affordable ways to breathe new life into a space. Whether you’re giving your entire house a fresh coat of paint or updating a single room, the right colors and techniques can dramatically transform your home’s appearance. Painting not only enhances the aesthetic appeal of a space but also protects the walls from wear and tear over time. While some people hire professional painters, many homeowners choose to take on the task themselves, making it a rewarding DIY project.


    The first step in any painting project is choosing the right color. Color selection is crucial because it sets the tone for the room and has a significant impact on the overall mood and atmosphere. For instance, lighter colors like whites, soft grays, or pastels can make a room feel more spacious and airy, while darker tones like navy, charcoal, or deep greens create a sense of coziness and sophistication. Before settling on a final color, it’s a good idea to test different shades on the walls, observing how they change in natural and artificial light throughout the day. Paint swatches can look drastically different depending on the lighting and the room’s furnishings.


    Beyond choosing the right color, the finish of the paint also plays an important role. The finish affects not only the appearance but also the durability of the paint. Common finishes include flat, eggshell, satin, semi-gloss, and high-gloss. Flat and matte finishes are ideal for low-traffic areas because they have little to no sheen and do not reflect light, making them great for hiding imperfections on walls. However, flat finishes are less durable and harder to clean. In contrast, semi-gloss and high-gloss finishes are more reflective and durable, making them perfect for trim, doors, and high-traffic areas like kitchens and bathrooms. They are easier to wipe clean but can highlight any imperfections in the wall surface. Satin and eggshell finishes offer a balance between the two, providing a slight sheen while still being relatively easy to clean.


    Once you’ve decided on your color and finish, it’s time to prepare the room for painting. Proper preparation is essential for achieving a professional-looking result. Start by clearing the room of as much furniture as possible, and cover any remaining items with drop cloths or plastic sheeting. It’s also important to remove any wall hangings, outlet covers, and light switch plates to ensure a clean, seamless paint job. Next, inspect the walls for any imperfections such as cracks, holes, or dents. These should be filled with spackle and sanded smooth before painting begins. If the walls have a glossy finish or have been previously painted, sanding them lightly will help the new paint adhere better.

    Priming the walls is another important step, especially if you’re making a significant color change or painting over stained or damaged surfaces. Primer creates a smooth, even base for the paint and helps ensure that the final color is consistent and true. There are different types of primer for different surfaces, so make sure to choose one that’s appropriate for your walls. For example, oil-based primers work well for wood, while water-based primers are suitable for drywall. If you’re painting over a dark color with a lighter one, a primer will prevent the old color from showing through and allow for fewer coats of paint. Some modern paints come with primer included, which can save time and effort, but traditional primer may still be necessary for problem areas or when covering dark or bold colors.


    When it’s time to start painting, having the right tools makes all the difference. High-quality brushes and rollers will provide better coverage and a smoother finish. Brushes are ideal for cutting in around edges, corners, and trim, while rollers are best for covering large wall areas. For ceilings or hard-to-reach places, an extension pole for the roller can make the job easier. It’s also important to use painter’s tape to mask off areas like baseboards, window frames, and doorways to prevent accidental smudges and ensure clean lines.


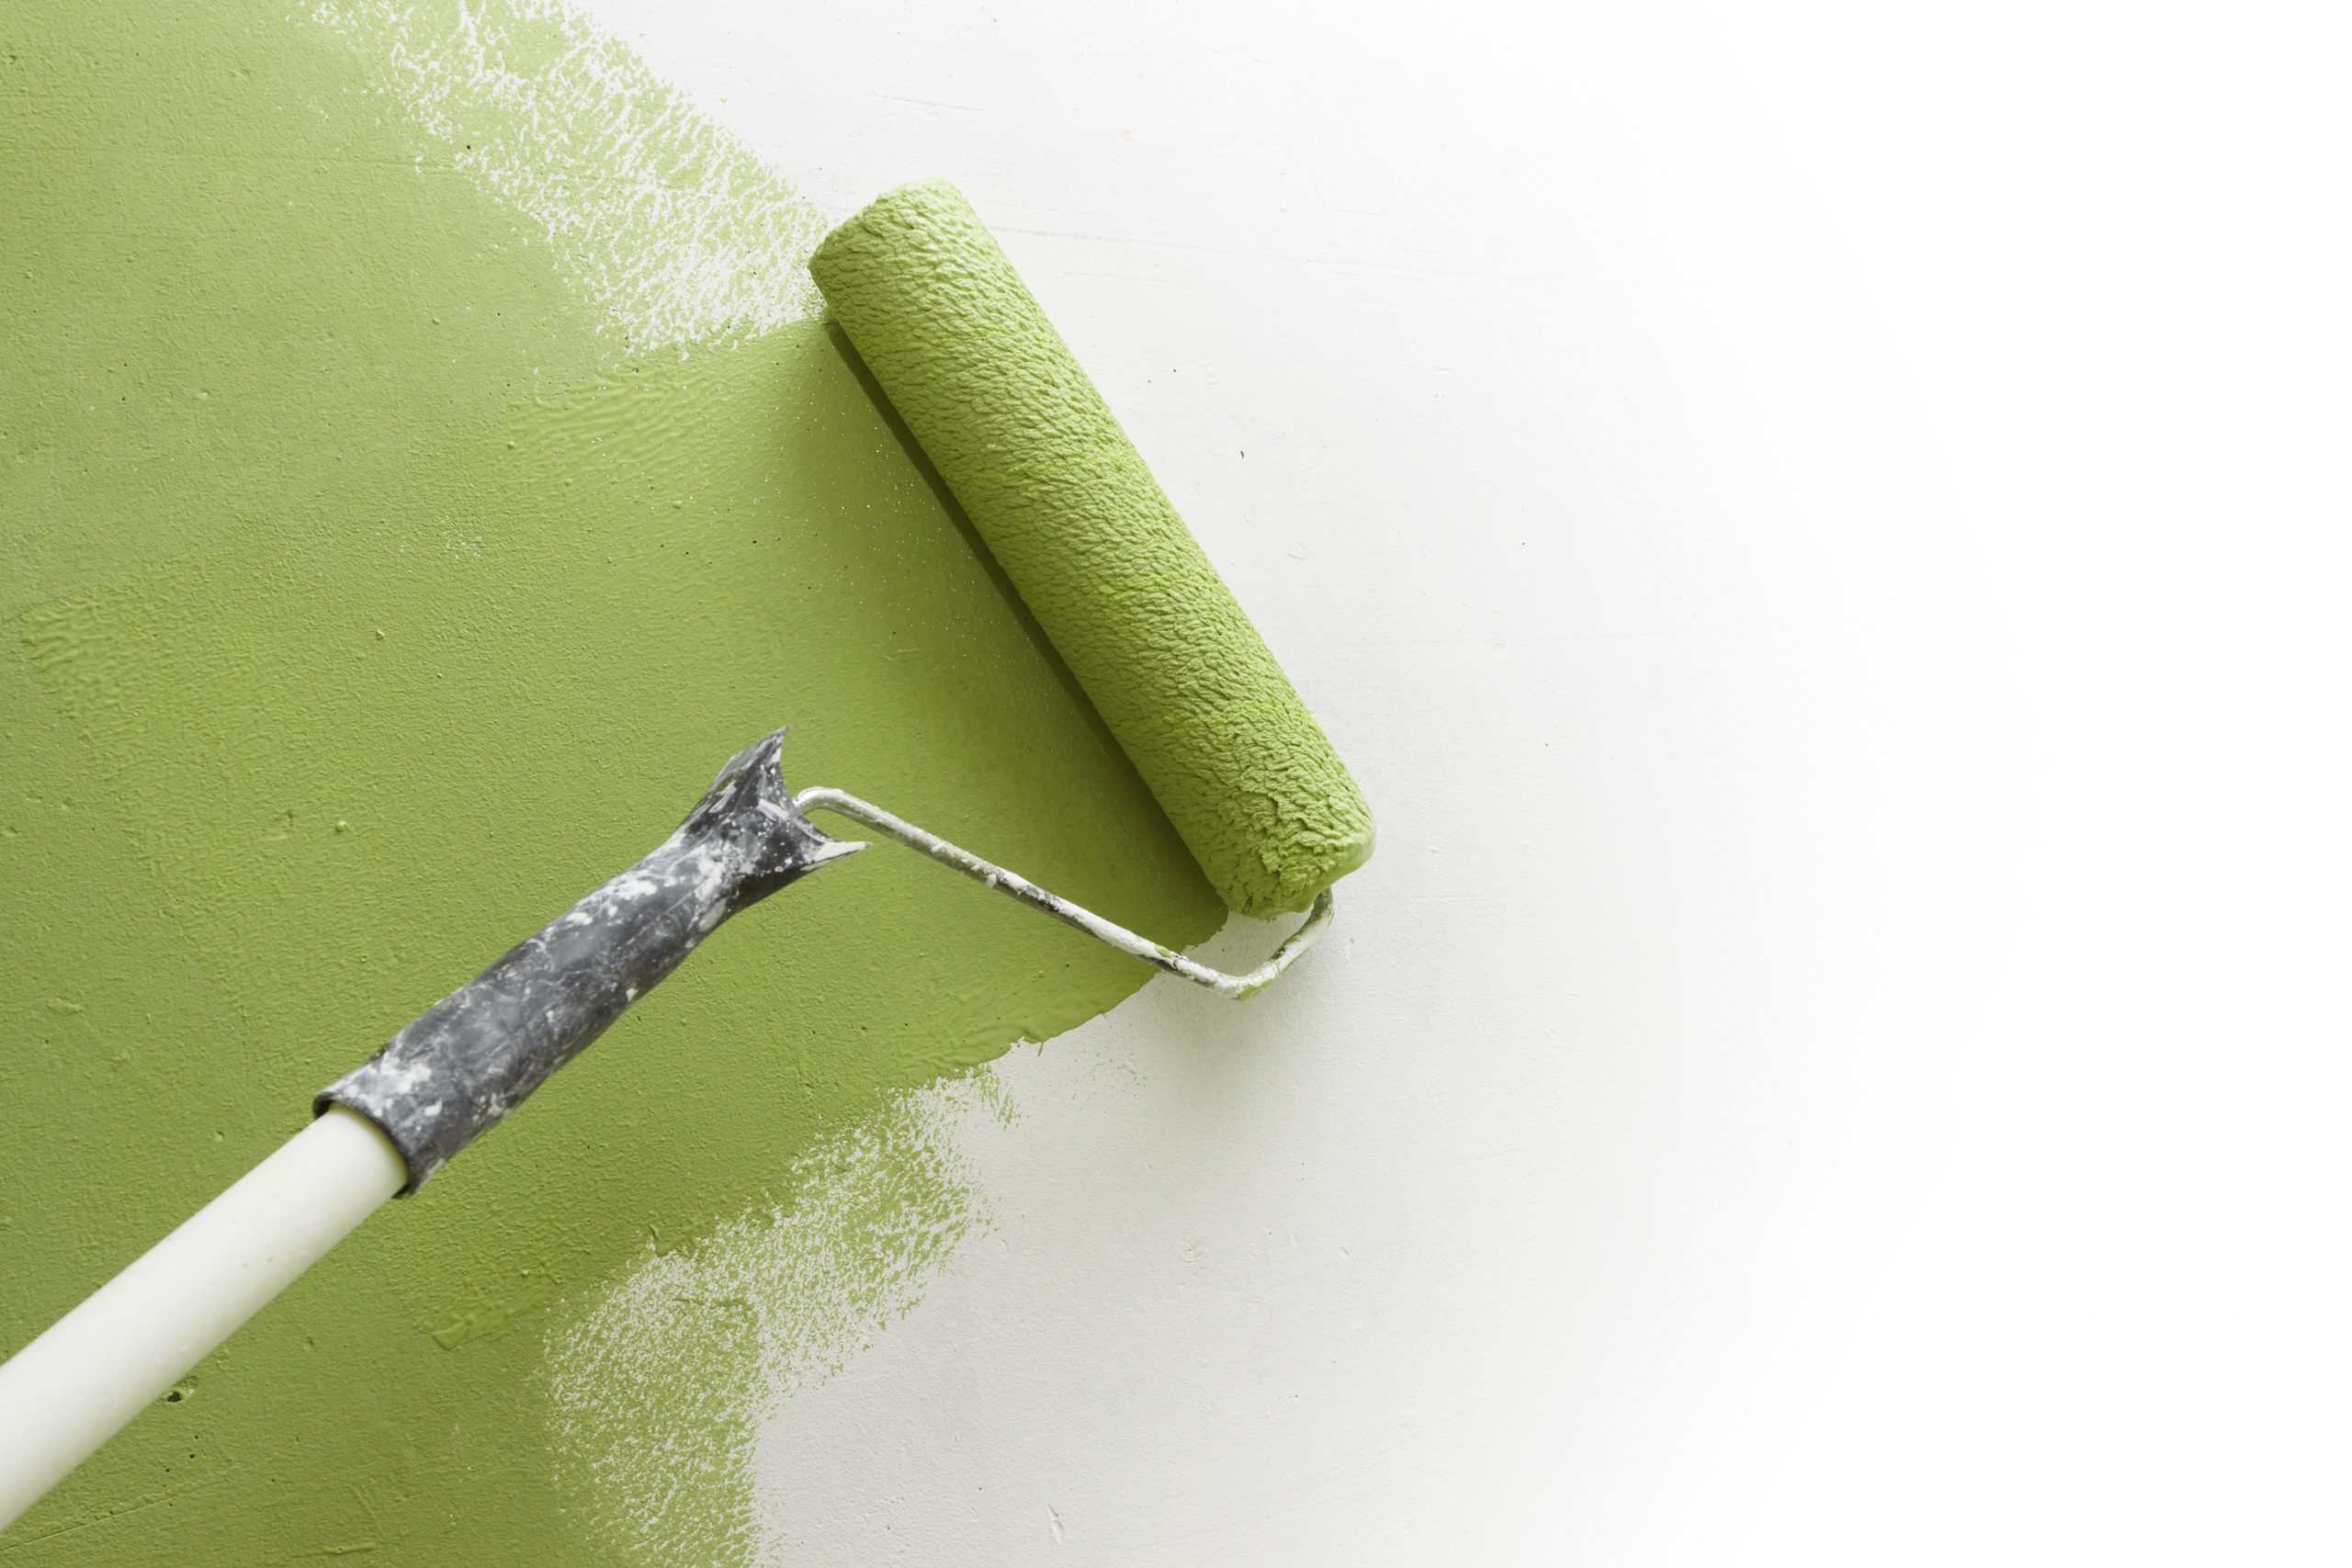
    When painting, technique is just as important as the tools you use. Start by cutting in around the edges of the room with a brush, painting about two to three inches away from the corners and trim. Once the edges are done, use a roller to fill in the larger areas, working in small sections and using a “W” or “M” motion to ensure even coverage. This technique prevents streaks and helps distribute the paint evenly across the surface. Avoid overloading the roller with paint, as this can lead to drips and an uneven finish. Multiple thin coats of paint are preferable to one thick coat, as they provide better coverage and dry more evenly.


    Depending on the color and finish you’ve chosen, you may need to apply multiple coats of paint to achieve the desired look. Darker colors often require additional coats to fully cover the surface, while lighter colors may only need one or two coats, especially if a primer has been applied. Be sure to allow each coat to dry completely before applying the next one to avoid smudging or peeling. Drying times can vary depending on the type of paint and environmental factors such as humidity and temperature, so follow the manufacturer’s recommendations for the best results.


    After the final coat has been applied and the paint has dried, it’s time to remove the painter’s tape and clean up. Carefully peel off the tape while the paint is still slightly tacky to prevent chipping or peeling at the edges. Touch up any areas where the paint may have bled under the tape or where coverage is uneven. Once the room is complete, clean your brushes and rollers thoroughly with water or paint thinner, depending on whether you used water-based or oil-based paint. Proper cleaning and storage of your tools will ensure they last for future projects.


    Painting can also extend beyond just the walls. If you’re looking to refresh cabinets, furniture, or even doors, paint can transform these elements as well. For wood surfaces, a primer is essential to prevent the paint from soaking into the material and to ensure a smooth finish. Sanding the surfaces lightly between coats will help achieve a professional-looking result. In many cases, a semi-gloss or high-gloss finish is recommended for furniture and cabinets, as these areas are prone to frequent use and need to be durable.


    Finally, after all the hard work is done, take a moment to appreciate the transformation. A fresh coat of paint can completely change the atmosphere of a room, making it feel more modern, cozy, or open. Whether you’ve chosen a bold accent wall, a neutral palette, or a soft pastel, the newly painted space will feel like a brand-new room.


    Home painting is a relatively simple yet highly impactful way to update and refresh your living space. From choosing the right colors and finishes to properly preparing the walls and applying the paint with care, every step of the process contributes to the final result. Whether you’re tackling the project yourself or hiring a professional, painting is one of the most versatile and cost-effective ways to enhance the beauty and functionality of your home.


    The Home Painting Process

    At Bright Home Remodeling, we make the home painting process smooth and efficient. Here’s how we bring your painting project to life:


    Consultation

    We start with a consultation to understand your needs, preferences, and goals. Whether you’re painting the entire home or just a few rooms, we’ll work with you to select the perfect colors and finishes that fit your style.


    Preparation

    Proper preparation is key to a long-lasting and flawless paint job. Our team thoroughly prepares each surface, including repairing cracks, filling holes, sanding, and priming where necessary. For exterior projects, we power wash and remove any debris or peeling paint to ensure the surface is ready for a fresh coat.


    Painting

    Our skilled painters use top-quality paints and apply multiple coats as needed to achieve a vibrant, consistent finish. We focus on precision and attention to detail, ensuring clean lines, smooth surfaces, and a beautiful result.


    Clean-Up

    Once the painting is complete, we handle all clean-up, leaving your home looking fresh and spotless. We remove any tarps, drop cloths, and debris, so you can enjoy your newly painted space immediately.


    Final Walkthrough

    Before we consider the project complete, we conduct a final walkthrough to ensure you are completely satisfied with the results. We address any concerns and ensure the finished product meets your expectations.


    Why Choose Bright Home Remodeling for Home Painting in NJ?


    Choosing the right painting contractor is essential to achieving a beautiful, long-lasting result. Here’s why homeowners across New Jersey trust Bright Home Remodeling for their painting needs:

    • Skilled Painters: Our experienced painters deliver exceptional craftsmanship on every project. We take pride in our attention to detail and commitment to quality, ensuring your home looks its best.

    • Customer-Focused Service: We prioritize your satisfaction throughout the painting process. From helping you choose the right colors to ensuring a smooth application, we focus on delivering a positive customer experience.

    • High-Quality Materials: We use only premium paints and materials, ensuring your paint job is durable, vibrant, and long-lasting. Our strong partnerships with suppliers allow us to offer top-tier products for every project.

    • Fully Licensed and Insured: We are fully licensed and insured, giving you peace of mind throughout the project. Our team adheres to all safety and building standards, ensuring your home is in good hands.

    • Local Expertise: With years of experience serving New Jersey homeowners, we understand the unique conditions and requirements of painting homes in this region, from weather considerations to design preferences.


    Cost of Home Painting in NJ

    The cost of home painting depends on the size of the project, the condition of the surfaces, and the materials used. On average, interior painting projects can range from $2,000 to $6,000, while exterior painting projects may range from $3,000 to $10,000 or more, depending on the size of the home.

    At Bright Home Remodeling, we provide clear, detailed estimates so you know what to expect from start to finish. We work within your budget to deliver exceptional results that enhance the beauty and value of your home.


    Contact Us Today for Your Home Painting Project in NJ

    Ready to give your home a fresh, new look? Contact Bright Home Remodeling today to schedule a consultation and get started on your home painting project in NJ. Our team is here to guide you through the entire process, from selecting colors to final application. Let us help you create a space that’s vibrant, stylish, and reflective of your personality.

    Our Benefits

    • We create custom kitchen designs that modern aesthetics.

    • We design customized basements that maximize space and versatility.

    • We create custom bathroom designs that are both functional and stylish.

    What types of painting services do you offer in New Jersey?

    We offer a wide range of painting services, including interior and exterior painting, cabinet refinishing, and decorative finishes. Whether you need a fresh coat for a single room, an entire home, or specialized services like pressure washing and drywall repair, we have you covered.

    How do I choose the right paint colors for my home?

    Choosing the right paint colors can be overwhelming. Consider factors like the room’s purpose, lighting, and existing decor. It’s helpful to gather samples and test them in your space to see how they look at different times of the day. Our design team can also assist you in selecting colors that complement your style and enhance your home’s ambiance.

    How long does a typical painting project take?

    The duration of a painting project depends on various factors, including the size of the space, the number of coats needed, and any necessary prep work. Generally, interior projects can take anywhere from a few days to a week, while exterior jobs may take longer due to weather considerations. We’ll provide a detailed timeline during the consultation process.

    What preparations do I need to make before painting?

    To ensure a smooth painting process, clear the areas to be painted of furniture and decor. We recommend covering floors and removing any fragile items. Our team will handle the rest, including patching walls and priming surfaces as needed. If you have any specific requests, just let us know!

    CONTACT US

    Get in touch with us